

How To Create Mount Point In Windows
Adding Volume Mountain Points to a Windows Failover Cluster
Windows Cluster – Adding Volume Mount Points
1. I have iii empty shared iSCSI drives connected to my server. Disk2 I will be using as my V: and will exist the root volume mount point. Disk iii and Disk 4 will incorporate mount1 and mount2 volume mountain points.

2. Open upwards your Failover Cluster Manager. Right click Storage and select Add a disk.

3. First up nosotros'll select the Disk 2 and Disk 3. I won't exist selecting Disk 4 notwithstanding as I want to evidence you later on how to add together a volume mount point to an existing setup. Click Ok.

iv. Disk 2 and Disk 3 have now been added to the Cluster and brought online.

five. Leap back into Disk Management. Right click on Deejay 2 and select New Simple Volume.

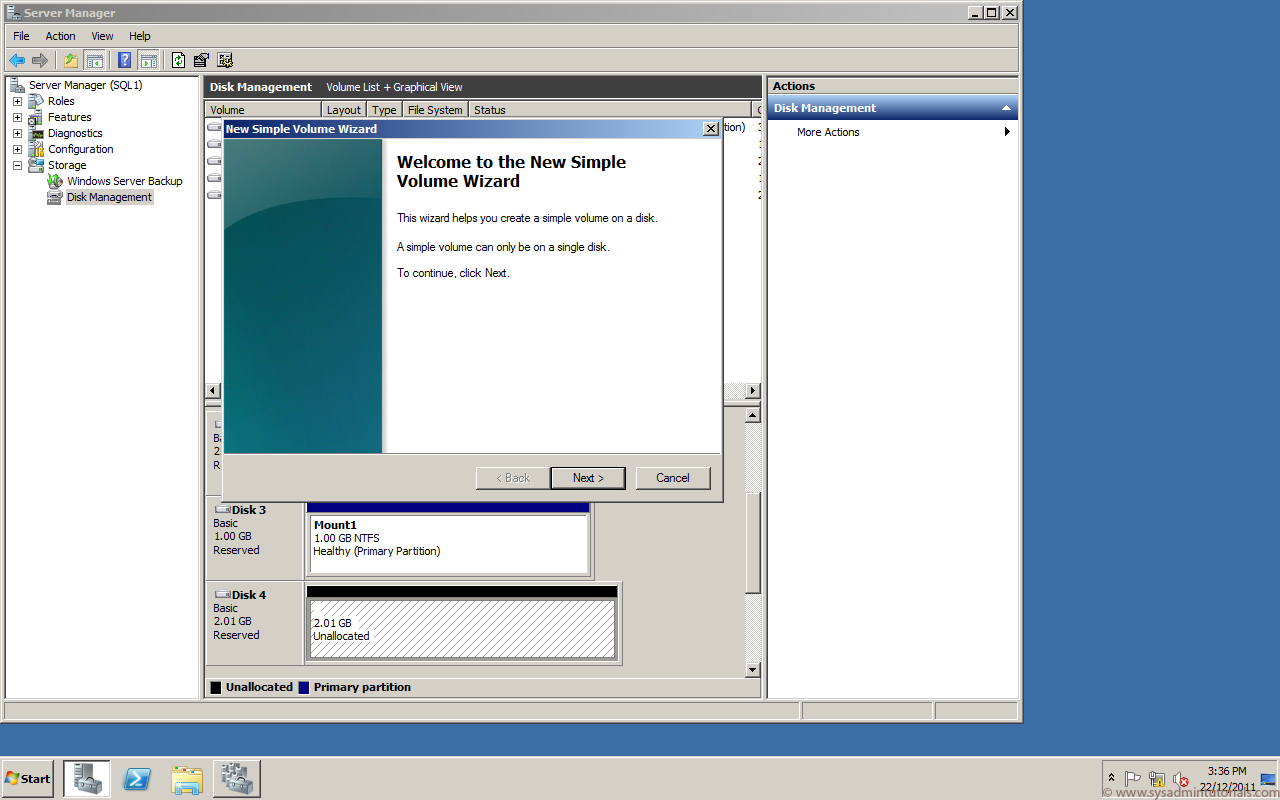
6. The New Uncomplicated Book Wizard pops upwardly. Click Next.

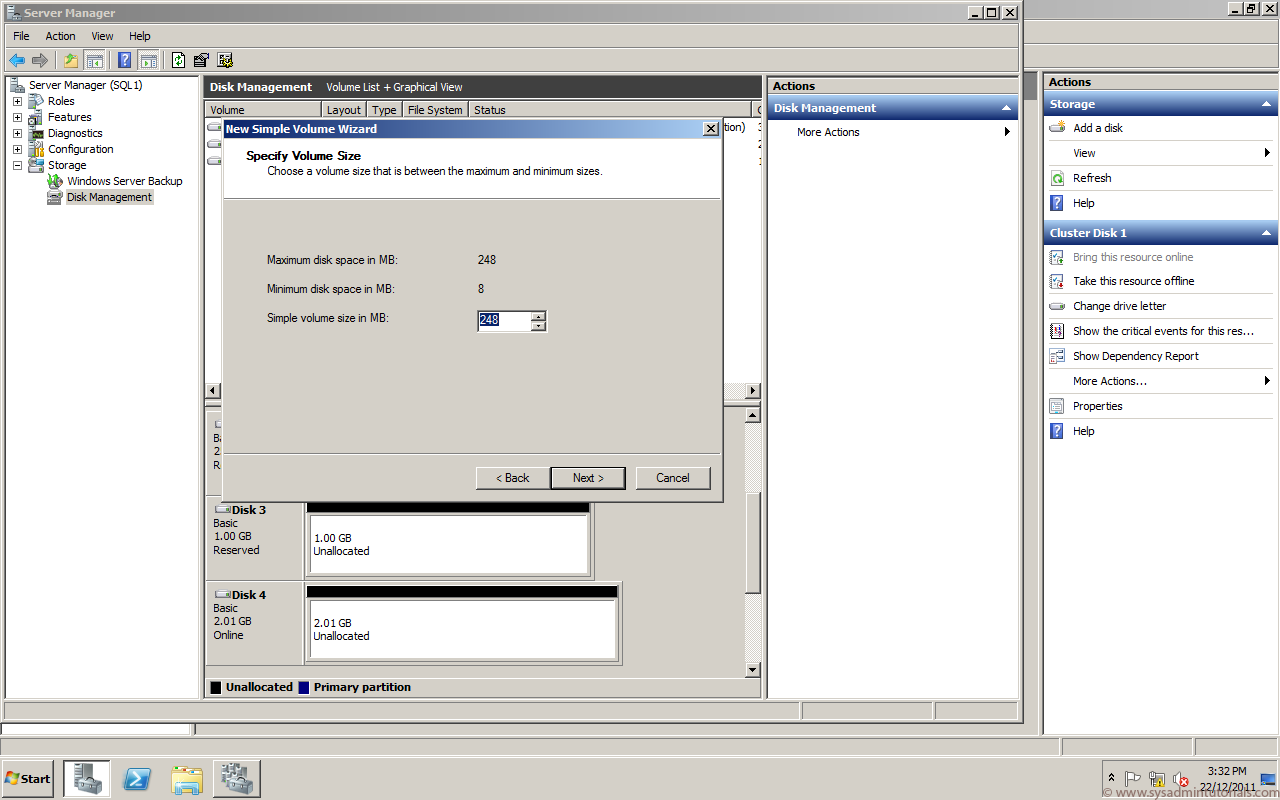
7. For the root volume mountain indicate, which is going to exist Five:, I have only created a 250MB volume. It doesn't demand to be whatever bigger. Click Next.
8. I volition assign the letter of the alphabet 5: and click Adjacent.

9. Type in Volume Mounts in the Volume Label field and click Next.

10. The wizard is at present complete, and you lot have successfully setup your root volume mount. Click Finish.

11. Back in Disk Management, correct click on Disk iii and select New Simple Volume. At the screen asking yous to assign a Bulldoze Letter or Path select Mount in the following empty NTFS folder and click Browse.

12. Select the V: and click on New Folder.

13. For the new Folder, blazon in a name, I will type in Mount 1 and click Ok.

14. The mount point will be Five:Mount1 Click Next.

xv. Format the volume and requite information technology a volume characterization. I will label this volume mountain betoken as Mount1. Click Next.

16. A summary of your volume is displayed. click Stop.

17. Disk 3 is at present formatted and ready for employ.

eighteen. If you open upward your Failover Cluster Manager you can see that Cluster Disk 3 has a mounted book of V:Mount1.

xix. Now suppose you have all your disks setup and you wish to add another volume mount point, which in this case is Disk iv.

20. In Failover Cluster Director, right click the Storage Folder and select Add a deejay.

21. Select Cluster Disk four and click Ok.

22. The disk is added into the cluster resource and brought online.

23. Back in Disk Management, right click on Disk four and select New Simple Volume.

24. The magician begins, click Next.
25. Select the size of the volume and click Next.

26. Select Mount in the following empty NTFS folder and click Browse.

27. Select the 5: and click on New Folder. I will give this new book mountain point folder a name of Mount two. Click Ok.

28. The volume mount signal is presented as V:Mount2 Click Side by side.

29. Format the volume and requite it a Book Characterization of Mount two. Click Side by side and then Terminate.

30. In your Failover Cluster Managing director you can at present come across Cluster Disk 4 with a volume mount bespeak of V:Mount2 along with the other volume mount points.

Disclaimer:
All the tutorials included on this site are performed in a lab environment to simulate a real globe product scenario. Equally everything is done to provide the near accurate steps to date, we have no responsibility if you implement any of these steps in a product environs.
Source: https://www.sysadmintutorials.com/tutorials/microsoft/windows-clustering/windows-cluster-volume-mount-points/
Posted by: gilbertwashis.blogspot.com
0 Response to "How To Create Mount Point In Windows"
Post a Comment